Workflows are currently in private alpha and only available to a limited number of users. APIs might change before GA.To use the methods on this page, you must upgrade your Resend SDK:
npm install resend@6.10.0-preview-workflows.1
Contact us if you’re interested in testing this feature.
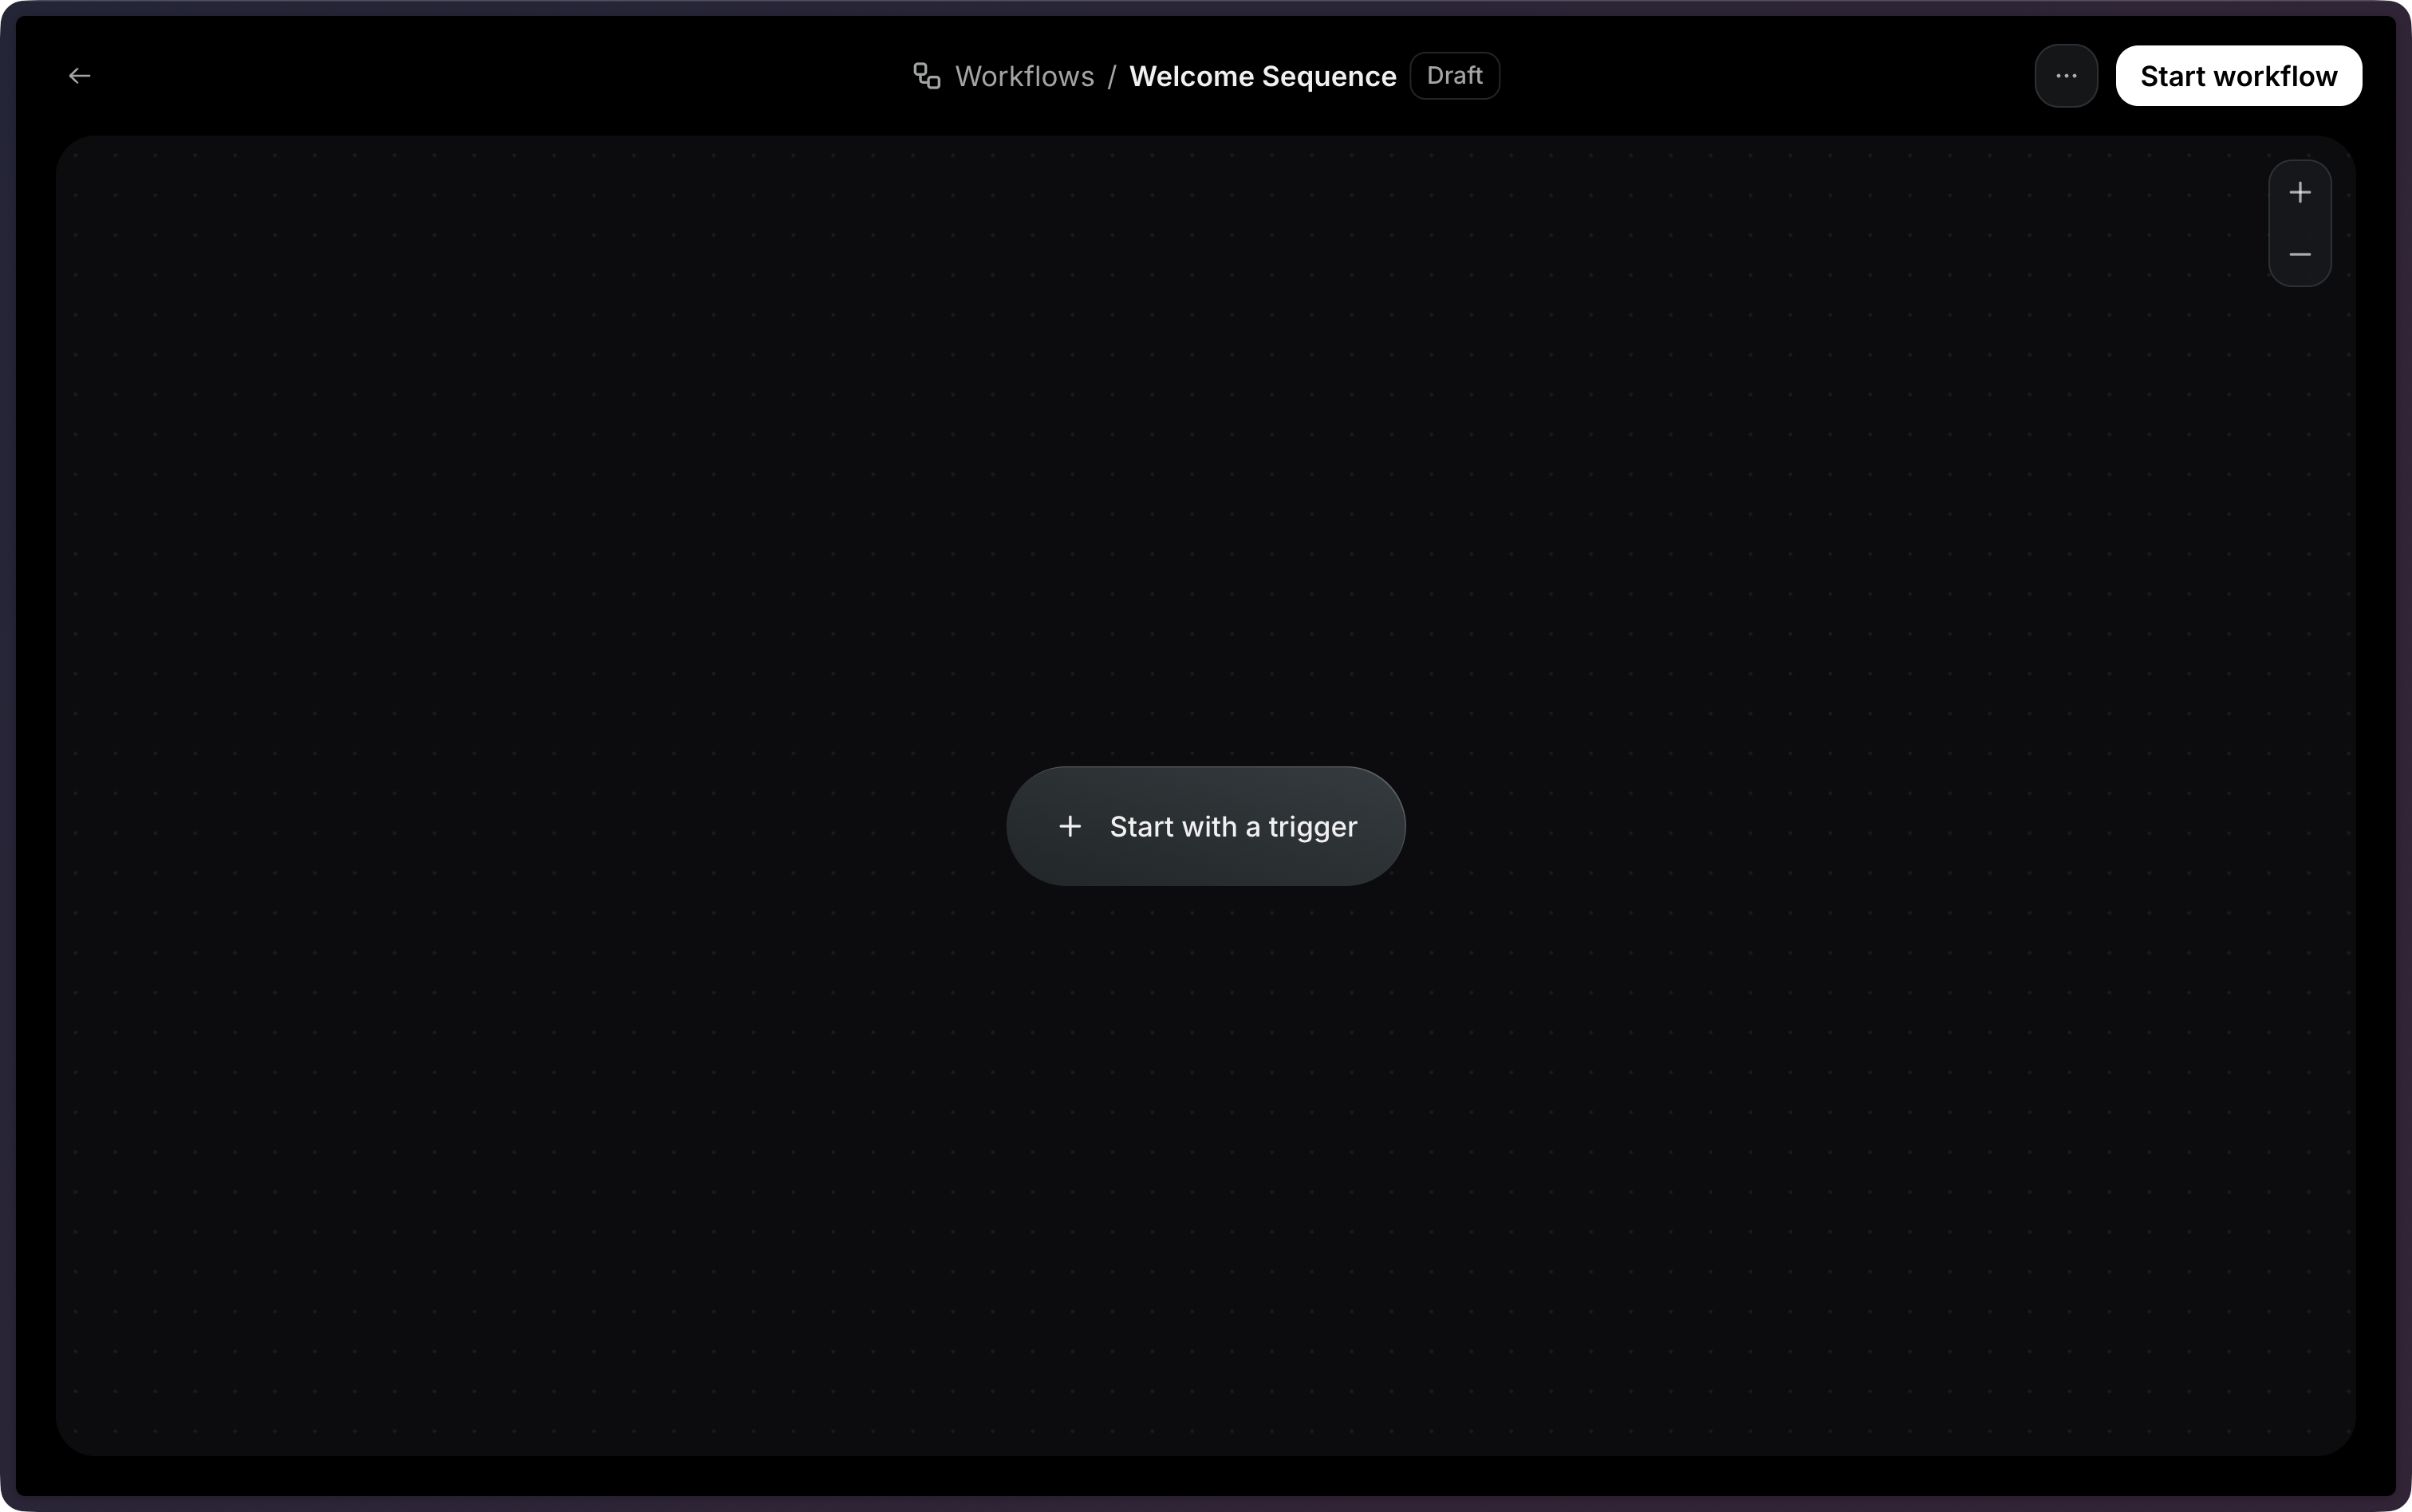
Automations allow you to automate email sending based on custom events from your application. You can use Automations for workflows like:
  • Welcome emails (e.g. user.created)
  • Feature adoption (e.g. invite.sent)
  • Payment recovery (e.g. payment.failed)
  • Abandoned cart (e.g. cart.abandoned)
  • Trial expiration (e.g. trial.ended)
  • And more

Getting started

To start executing an Automation, you need to:
1

Create Automation

First, you need to build the sequence of steps that will be executed.
2

Add Trigger

Then, you need to define the event name that will trigger the Automation.
3

Define Actions

Then, you need to define the actions that will be executed.
4

Send an Event

Finally, you need to send the event to trigger the Automation.

1. Create Automation

The Automations page shows all existing automations.Click Create automation to start a new Automation.Create Automation

2. Add Trigger

A trigger is the first step that will run when the Automation is executed. Add Trigger to Automation On this example, we will receive an event called user.created as a trigger. Add Event Received Trigger
Event names cannot start with the resend: prefix, which is reserved for system events.

3. Define Actions

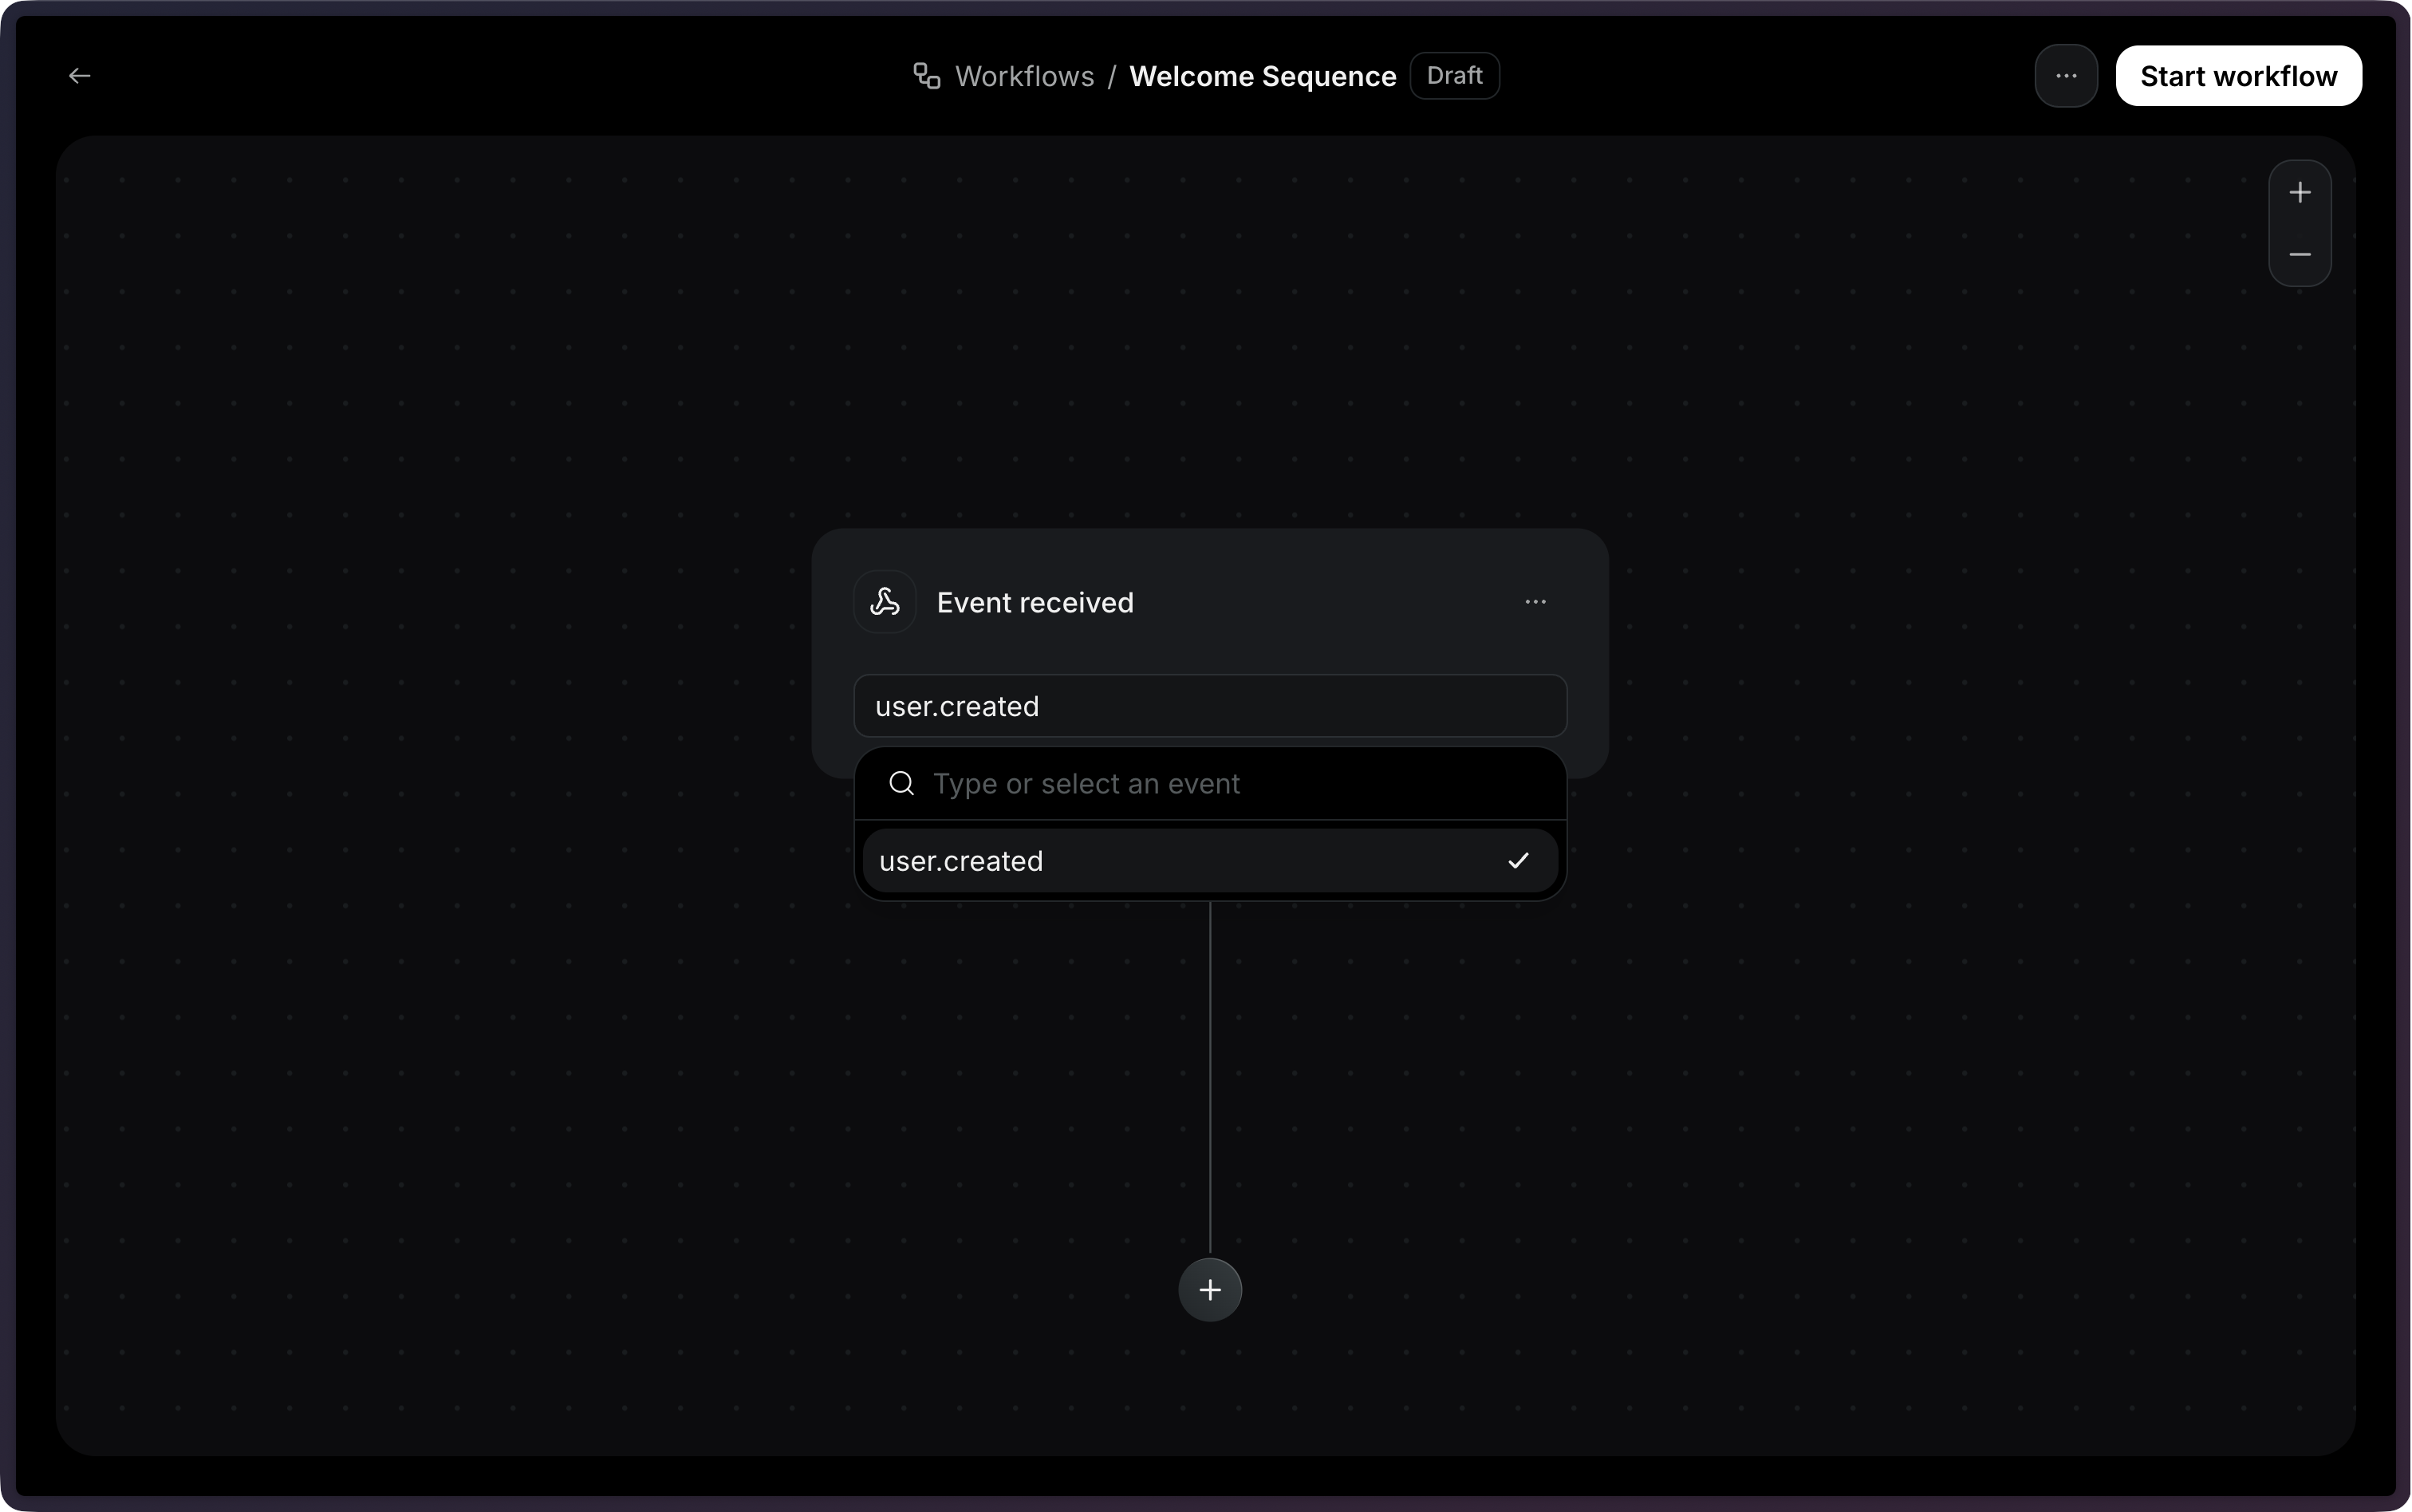
Now, we need to define the actions that will be executed. On this example, we will use the Send email action. But you could also add a Time delay or True/false branch action. Define Actions Once you select the Send email action, you will be able to select an existing template.
Note: Only published templates are available to be used in an Automation.
Add Send Email Action With the template selected, you will be able to configure the email subject and sender address. Send Email Action Settings Once you’re done with the email, you can click on Start automation to enable the Automation. Automation Enabled

4. Send an Event

Now, we’re ready to send an event to trigger the Automation. On your application, you can send an event to trigger the Automation by using the API.
import { Resend } from 'resend';

const resend = new Resend('re_xxxxxxxxx');

// Trigger with a contact ID
const { data, error } = await resend.events.send({
  event: 'user.created',
  contactId: '7f2e4a3b-dfbc-4e9a-8b2c-5f3a1d6e7c8b',
  payload: {
    plan: 'pro',
  },
});

// Trigger with an email address
const { data, error } = await resend.events.send({
  event: 'user.created',
  email: 'steve.wozniak@gmail.com',
  payload: {
    plan: 'pro',
  },
});
View the API reference for more details.